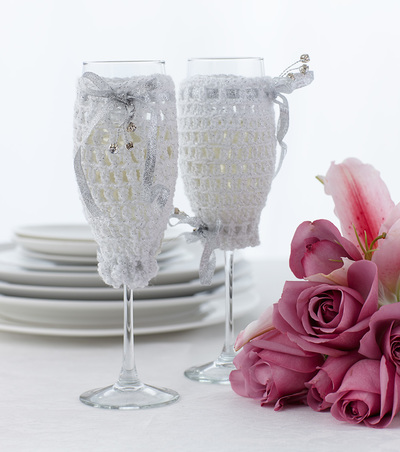
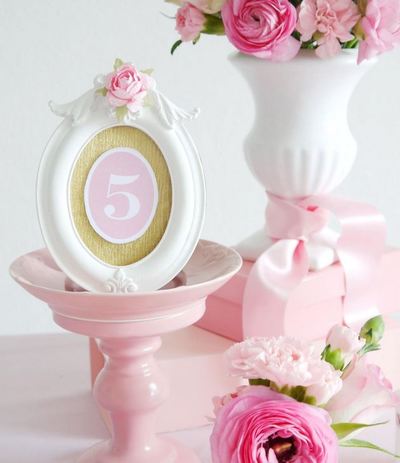
Dainty Doily Earrings
 Traditional brides, especially those who love to crochet, will want to make themselves a pair of Dainty Doily Earrings. They're easy, gorgeous, and you can wear them long after your special day is over. You can even use these bridal accessories as gifts for your wedding party, and make each of your bridesmaid a pair in the same color as their dresses. Similarly, if you're a mother of the bride who can't put down her crochet hook, your daughter will adore these earrings as her "something new" to wear down the aisle.
Primary Technique: Crochet
Time to Complete: In an evening

Materials:
- AUNT LYDIA’S® Metallic Crochet Thread, Size 10: 1 ball 0001P White/Pearl.
- Susan Bates® Steelite® Crochet Hook: 1.60 mm [US 6].
- Tapestry needle
- 2 faceted glass 8mm pearl beads
- Needle and thread
- 2 silver fishhook earring wires
- Needle-nosed pliers
- Liquid sealant such as FrayCheck™ (optional).
Measurements: Earring motif measures 1½” diameter.
Abbreviations:
ch = chain
dc = double crochet
st(s) = stitch(es)
* or ** = repeat whatever follows the * or ** as indicated
[ ] = work directions in brackets the number of times specified.
Gauge: ½” diameter. CHECK YOUR GAUGE. Use any size hook to obtain gauge.
Note:
Beginning ch-3 counts as first dc throughout. Always join with slip st in first ch-3, unless otherwise stated. All rounds are worked from Right Side.
Special Abbreviations:
Popcorn (pc): Work 4 dc in same st; take hook out; insert in first dc, draw loop through and pull tight.
Shell: (2 dc, ch 2, 2 dc) in same st.
Double Crochet Decrease (dc2tog): [Yarn over, insert hook in next stitch, yarn over and pull up loop; yarn over, draw through 2 loops] 2 times, yarn over, draw through all loops on hook.
Instructions
Ch 6; join with slip st to form ring.
Round 1 (Right Side): Ch 3, work 13 dc in ring; join – 14 dc.
Round 2: Ch 3, dc in same st; (work pc in next st, 2 dc in next st) around; work pc in last st; join – 7 pc.
Round 3: Ch 2, dc in next st,ch 1; shell in pc, ch 1, (dc2tog, ch 1, shell in next pc, ch 1) around; join with slip st in first dc2tog – 7 shells.
Fasten off.
FINISHING
Weave in ends, securing them with liquid sealant, if needed. Sew bead in center of earring. With pliers, open loop on earring wire, put it through any shell’s ch 2 space; pinch loop with pliers to shut firmly.
Read NextVintage Flapper Wedding Dress