DIY Wedding Makeup Tutorial: Professional Tips and Tricks
DIY Wedding Makeup Tutorial: Professional Tips and Tricks
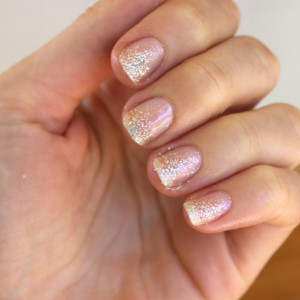
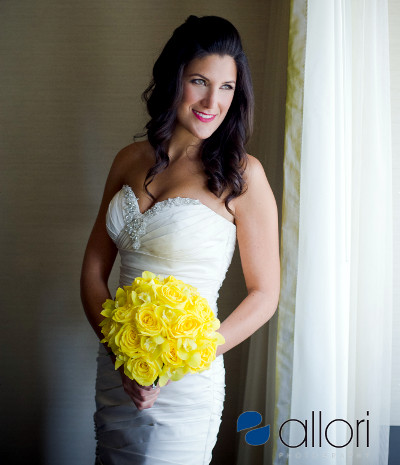 Makeup By: Elise Brill/ Leesi B Cosmetics Image: www.alloriphotography.com |
-
Decide how you want to walk into the room. Is your dress romantic, vintage, trendy? Are you usually pretty natural or wearing fake lashes every chance you get? I always recommend that you look like yourself, just with added definition.
- Remember if you are wearing the traditional white, off white or ivory gown, all people will see is your skin, teeth and the dress. The goal is for your skin to look flawless and your eyes to look defined.

Skin-Great makeup application starts with great skin. Start taking care of your skin months before your wedding day. Stay out of the sun, use spf, cleanse your skin each morning and remove all makeup each night.
Many brides contact me who would like to learn how to do their own makeup for their wedding day. Here are some quick and easy steps for perfect Bridal Makeup:

I recommend you start with your eyes. This is a great makeup tip, just in case during application you get any makeup from your eyes on your face, you have not applied your foundation and do not need to correct anything.
1.First apply a Beige Eye Fix Primer to your eyelids. This will keep your eye shadow on for hours.
2.Choose neutral shadows. Use a darker shadow in the crease or corner as an accent.
Cream shadows are fantastic for weddings; most are waterproof, so they will stay on better throughout a night of dancing. Stay away from high shimmer or frosty shadows, they do not photograph well.
3. It is important to line your eyes. Which portion depends on the shape of your eye. I recommend making the line stronger than usual and then using a sponge liner brush to blend it. Use a waterproof eyeliner, which could come in many forms; Ultimate gel pencil, gel liner, or an ink liner pen.
Smaller shaped eyes: Line top lid heavy and blend, and do not use a bottom liner, this will give the illusion of an instant "eye lift" which will make your eye look bigger.
A big trend is liner on the water line, which is fine, but just know it does tend to make the eyes appear smaller.
4. Apply a waterproof mascara. If you want to give your eyes an extra pop, use an extra eyelash wand to comb thru lashes and reapply several coats.

Also, if you are not able to apply false eyelashes to yourself, I have the perfect tip to give the appearance of long full lashes. In between each coat of mascara, apply a lash extender. These are white fibers that you dust onto your lashes in between each coat of mascara. They build your lashes with each application, they instantly appear longer and thicker.
5.Choose from two kinds of primer, a Retexturizing Face primer, good for all skin types, or a pore minimizer primer for oily skin. This will act as a barrier between your skin and the foundation. It will help your makeup stay on longer.
6.Make sure to choose an oil free foundation, with no SPF. SPF tends to cast a white light and does not fare well in pictures. I always recommend to start with an oil free foundation and then choose a powder according to your skin type. A mineral pressed powder is great for oily skin and a baked hydrating powder is best for all other skin types.
7. Lips- Choose a lip color. Don’t be afraid of color. If you do not usually wear lip color, I recommend you choose a color at least two shades bolder than you would normally wear.
If you do not choose color, in pictures you will only see your teeth and not your pretty lips. This seems to be the hardest bridge to cross for many brides. A great idea that I do with my brides is to use a bolder lip color for getting ready pictures and portraits, and then change into something lighter for the rest of the pictures. Gloss does not photograph well, so I suggest using no gloss, or just very little in the middle of your lips.
8. Use a contour powder for your cheeks and forehead. Then apply blush to the apple of your cheeks.
9. Set your makeup using an invisible blotting powder.
Your Recently Viewed Projects

Thanks for your comment. Don't forget to share!
Eugenia
Oct 20, 2017
We just had my sister's wedding, and I would add a few more tips falsies make a huge difference and use a liquid lipstick or stain so that you won't have to touch up too much. If you're doing your own makeup, practice ahead of time and take a picture in flash photography to make sure it looks alright in photos!
RachelAnne
Aug 30, 2016
I love all of these tips. I'm definitely more of a DIY type of girl when it comes to makeup and hair styles, so I appreciate these pro tips.
margiekins22
Jun 07, 2016
This is such great advice! Another really good tip for people who don't usually do a liquid or gel liner is to use an angled eyeliner brush and black eyeshadow. The eyeshadow creates a softer look compared to the gel or liquid, and then it is less intimidating!
Report Inappropriate Comment
Are you sure you would like to report this comment? It will be flagged for our moderators to take action.
Thank you for taking the time to improve the content on our site.