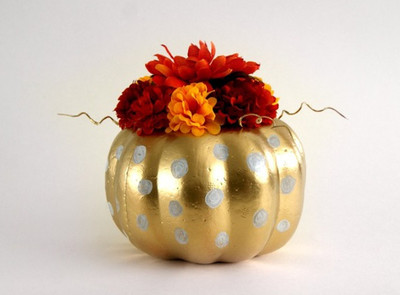
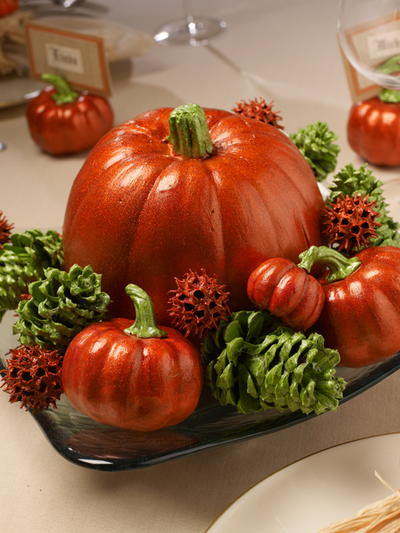
Pretty Pumpkin Fall Wedding Centerpiece

This Pretty Pumpkin Fall Wedding Centerpiece gives traditional pumpkins a glittery twist! With green and orange accents, this DIY wedding centerpiece will compliment any autumn color scheme while delivering a sparkling effect that will wow your guests. All you need to do is paint your decorations and arrange them as desired! You could even add flowers or other plants to bring in more color. It couldn't be easier to make your own centerpiece, and this step-by-step tutorial will give you all the information you need to bring this beautiful bit of fall right to your wedding tables.
Time to CompleteIn an evening
Primary TechniquePainting

SeasonFall
Project TypeWedding Decor
Materials List
- FolkArt Extreme Glitter - Peridot, 5 oz.
- FolkArt Extreme Glitter - Orange, 2 oz.
- FolkArt Acrylic Colors - Pure Orange, 2 oz.
- FolkArt Acrylic Colors - Fresh Foliage, 2 oz.
- Artificial pumpkins various sizes as desired
- Small pinecones
- Sweet-gum balls
- 2 small silk fall-leaf bushes
- Scissors
- Hot glue gun
- Flat Brush
- Large square glass plate
Instructions
-
Paint all pumpkins and Sweet-gum balls with Pure Orange. Let dry and give a second coat. Let dry.
-
Paint pumpkin stems and all of pinecones with Fresh Foliage. Let dry and give a second coat. Let dry.
-
Paint a coat of Extreme Glitter Orange over Pure Orange areas. Paint a coat of Extreme Glitter Peridot over all Fresh Foliage areas. Let dry.
-
Paint a second coat of Extreme Glitter colors. Let dry completely.
-
Arrange attractively in glass dish, starting with largest pumpkin, then the medium pumpkins. Place the pinecones between the pumpkins and fill in the spaces with Sweet-gum balls and smaller pumpkin.
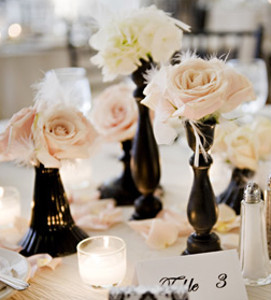
Read NextRustic Wedding Tablescapes
Your Recently Viewed Projects
Thanks for your comment. Don't forget to share!
Zeemer
Aug 19, 2016
This painted pumpkins are so beautiful when placed on the wedding table. They make beautiful centerpiece. The color will also make a good wedding motif. Just follow the instructions on the same page and you can have the same pumpkins for a centerpiece.
Report Inappropriate Comment
Are you sure you would like to report this comment? It will be flagged for our moderators to take action.
Thank you for taking the time to improve the content on our site.