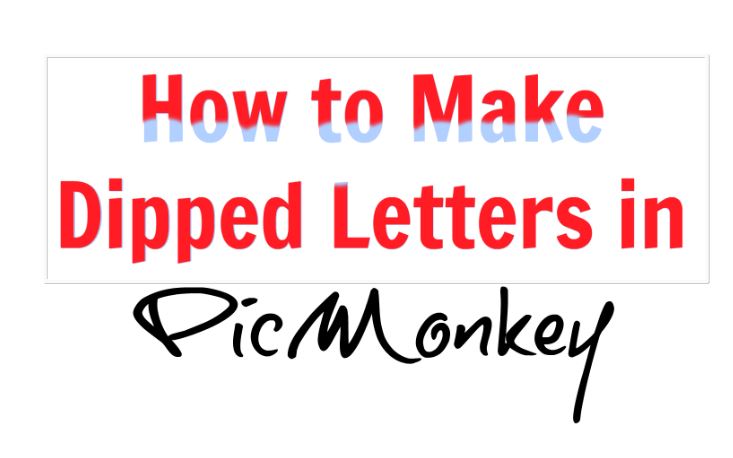
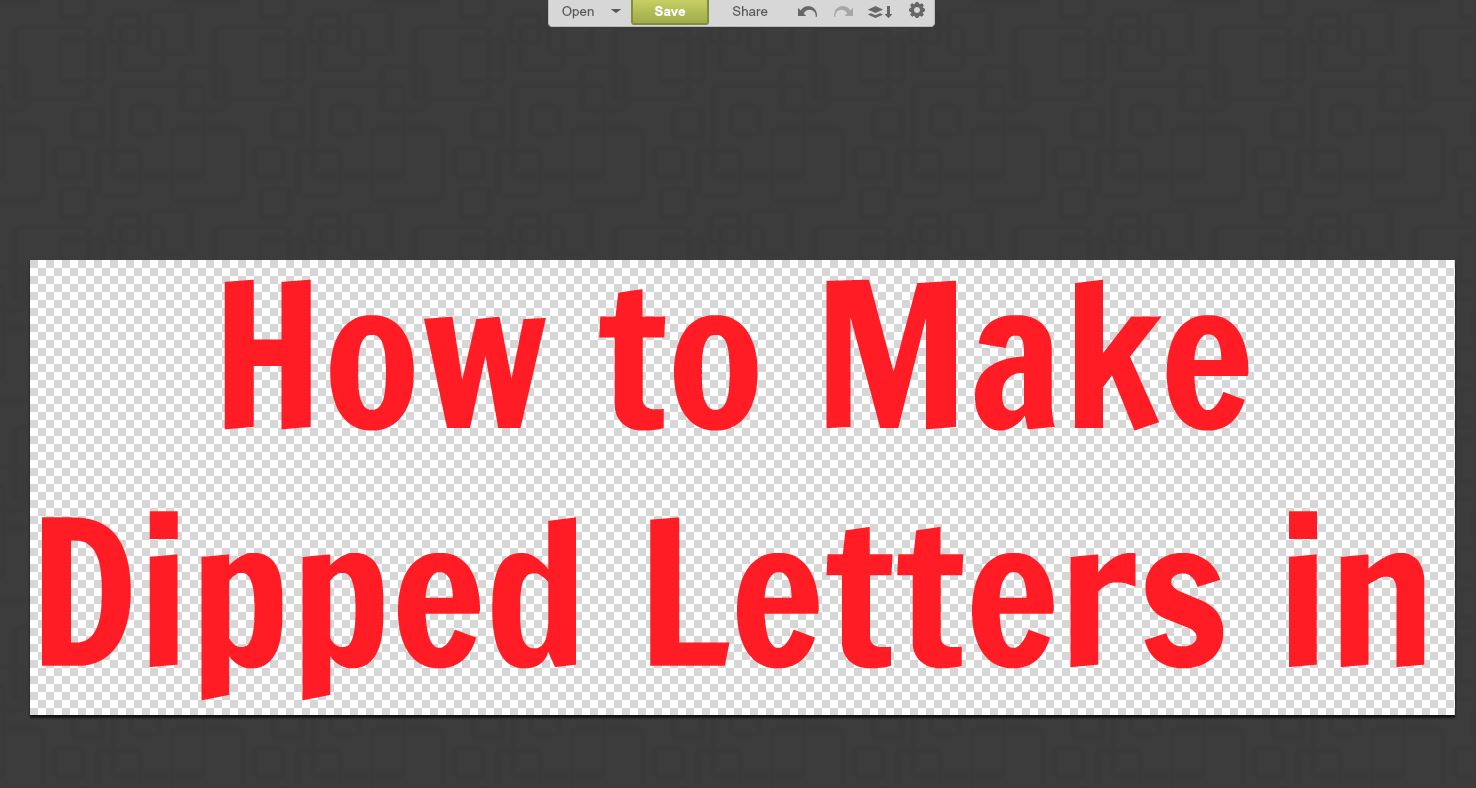
PicMonkey Tutorial: How to Make Dipped Letters
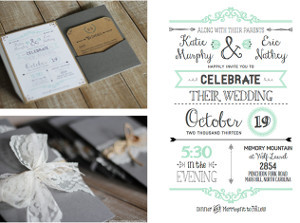
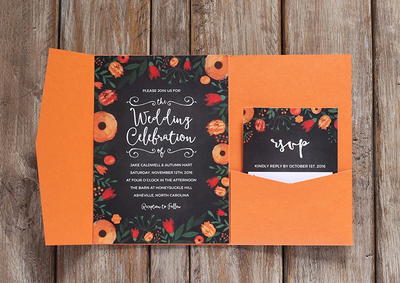
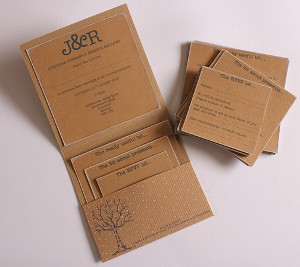
More and more brides are creating their own stationery because it's inexpensive, fun, personal, and 100% doable.

Thanks to websites like PicMonkey, you can create pretty much any design you can imagine. Some tools, though, aren't available and require some ingenuity. Luckily, we've taken care of that part for you, and you simply get to reap the benefits, hopefully resulting in ridiculously fabulous wedding programs, invitations, and thank yous. This wickedly cool tutorial will teach you how to create tie-dye, or dipped, letters in PicMonkey. The program doesn't give you the option of erasing text, so we've discovered a way to make it happen. Follow these steps and learn how to easily create dipped letters in PicMonkey.
1.) Go to PicMonkey.com, and select collage or design. If you are including photographs in your design, choose collage. If not, choose design.
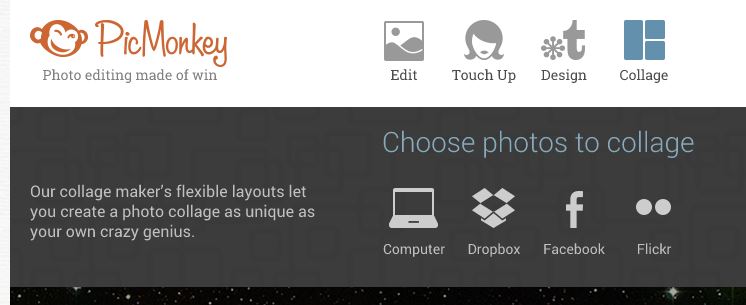
If you choose collage, you can select all of the photos you would like to work with, either from your computer, Dropbox, Facebook, or Flickr. You will then put those in place, and choose edit on the top of the screen.
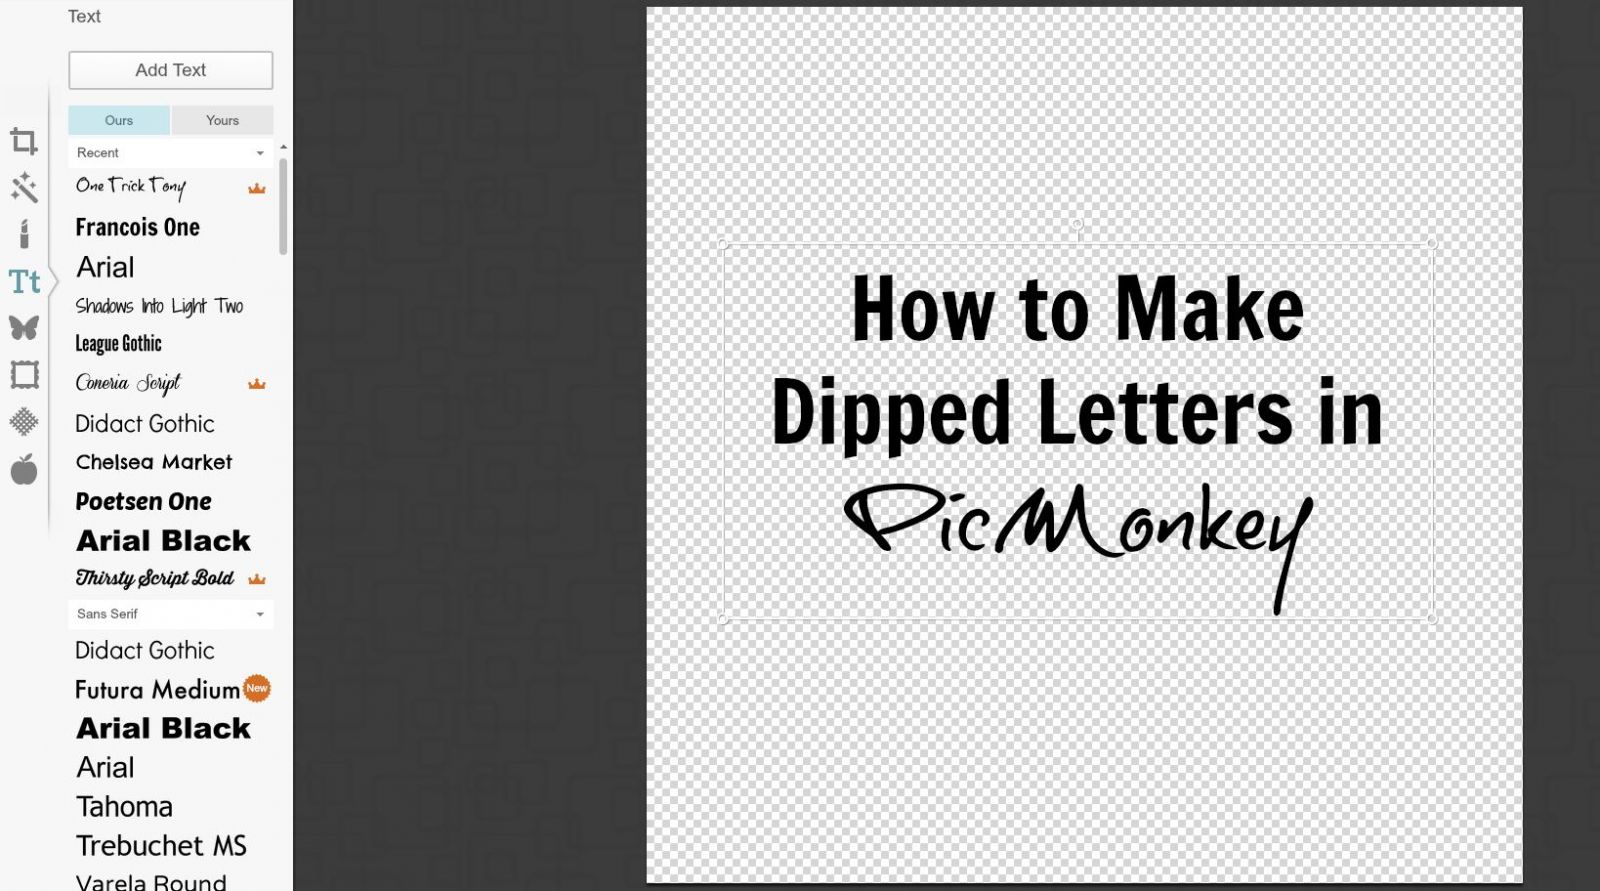
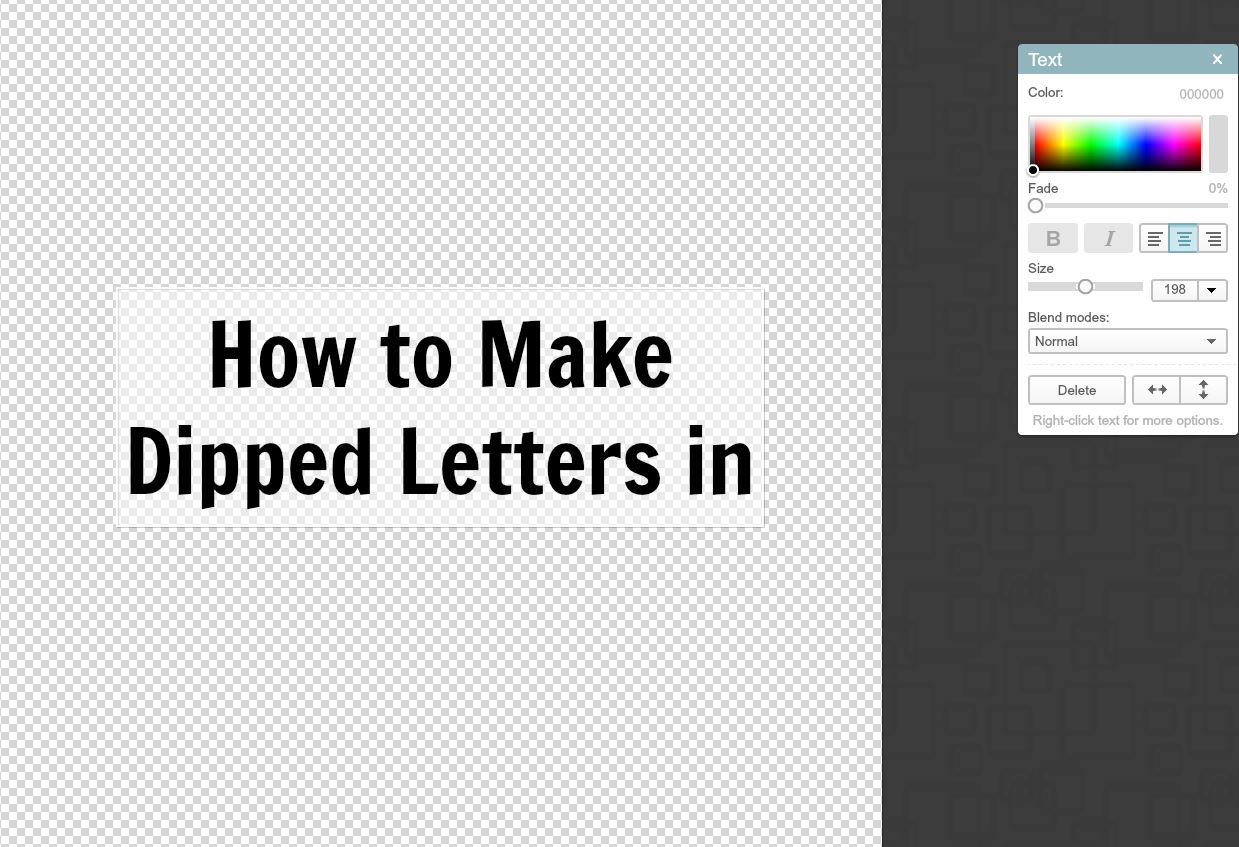
2.) Once you've selected your options, a blank canvas (or the canvas with your photos) will open up. On the left side of the screen, you will see editing options, one of which is Tt. Click on Tt, or text. Select the font you like best, and then select add text. A textbox will appear; in it, type your desired message.
3.) Change the color of your text as desired.
4.) Open a new window, and go to PicMonkey.com. Select collage. Pick any photo from your computer; it doesn't matter what because it won't be used.
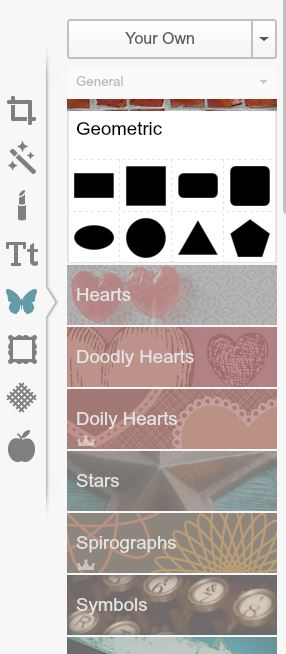
5.) A blank canvas will open up. On the left side of the screen, you will see the icons shown below. Click on the artist's palette, also known as background. Check the box that says "Transparent background."

6.) Your canvas will then look like this: Click Edit on the top of the page, in the grey box shown below.
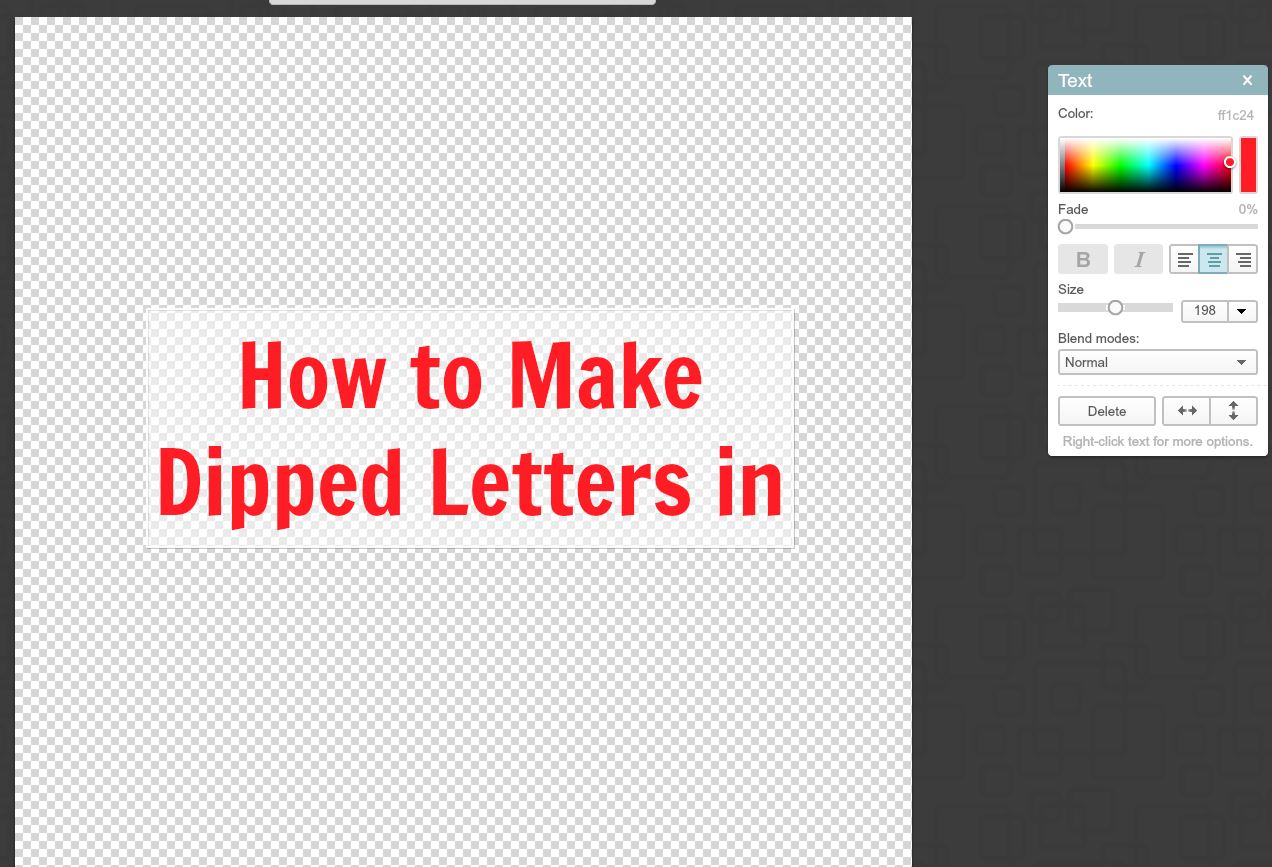
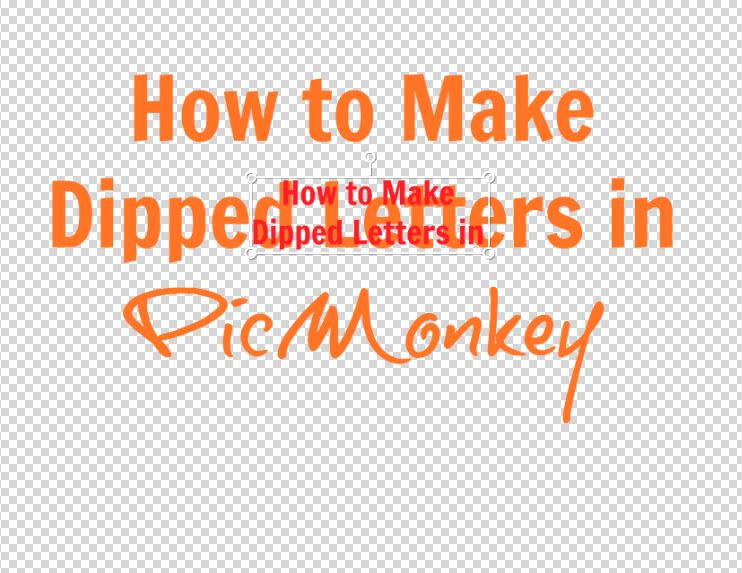
7.) Just as before, insert a text box. Make sure you type the exact same phrase in the same size font.
8.) Change the color to a contrasting hue from the other one.
9.) It is now time to crop your overlay, or the second phrase you typed. You should still be in the second window of PicMonkey. The first icon listed on the left side of the screen is the cropper. Select this.
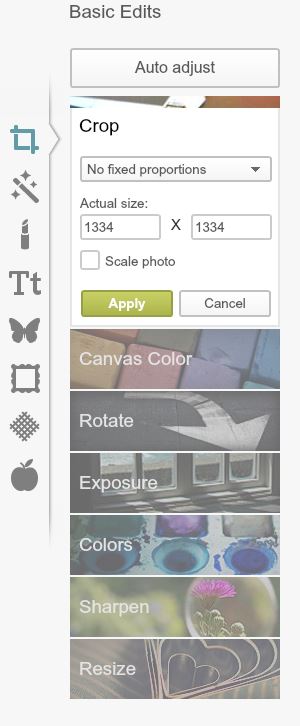
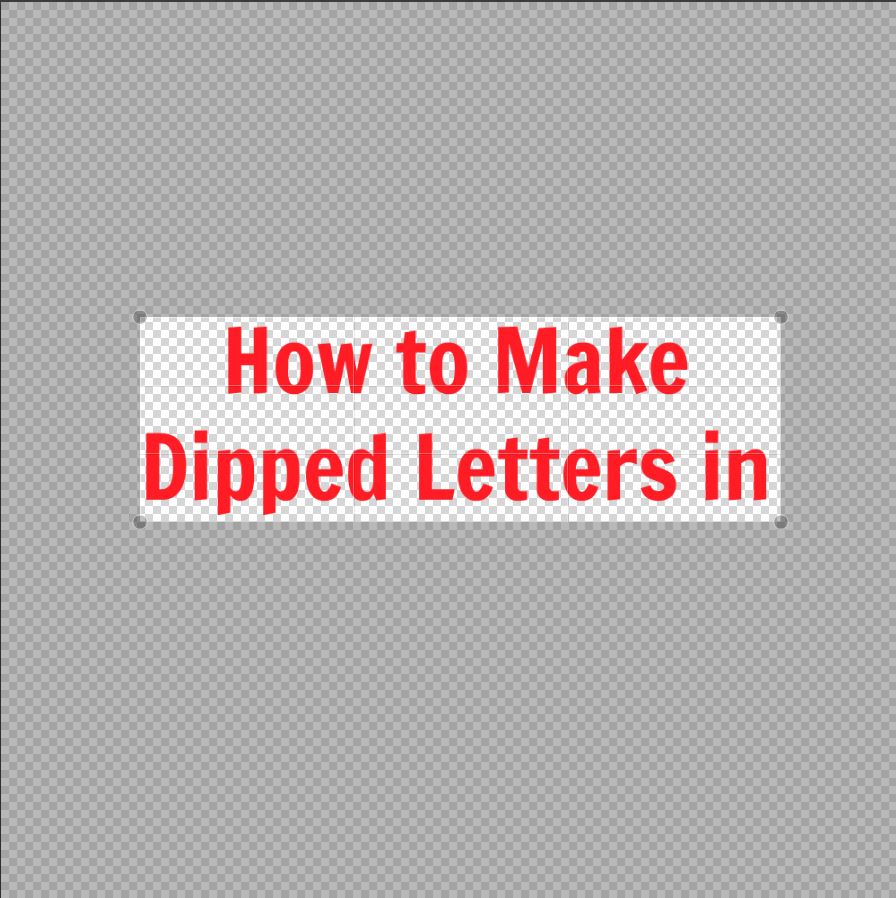
10.) A box will appear on your canvas. Fit it tightly around your text and then press apply. Once you've done so, press save, on the top grey bar. It is highlighted in green below. Save the image to your computer in an easy-to-find place, even your Desktop.
11.) Once your overlay is saved, click back to the original PicMonkey window. Now, click on the butterfly icon, directly under the text box option.
12.) Find the overlay you just saved on your computer, and upload it. It will appear much smaller, but on the original canvas.
13.) Stretch the overlay so that it fits exactly over the original text.

14.) While your overlay is still selected, you will see a toolbox to the right, labeled overlay, as shown below. Click on the Eraser option.
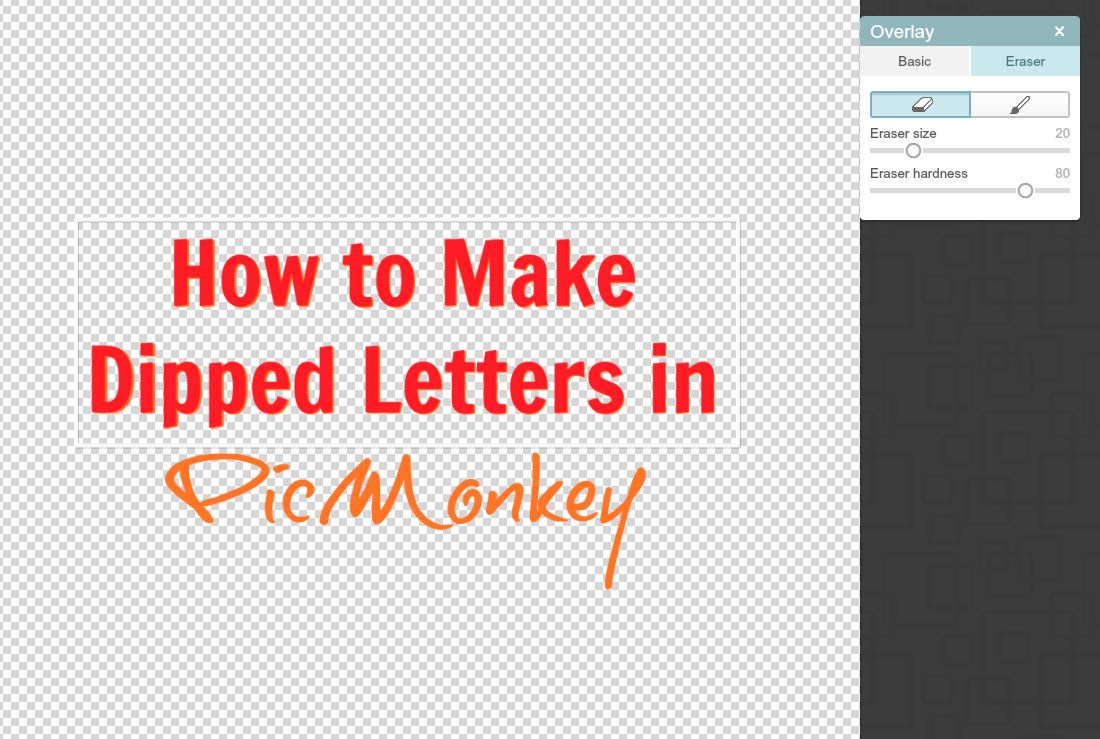
15.) Erase part of the overlay to reveal the original text. Erase until satisfied, and you have dipped letters!