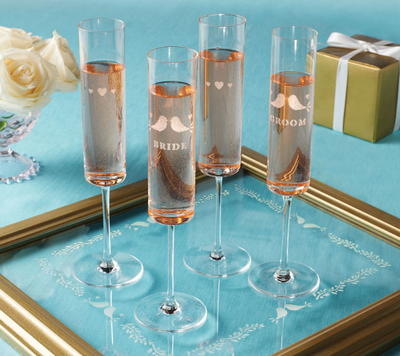
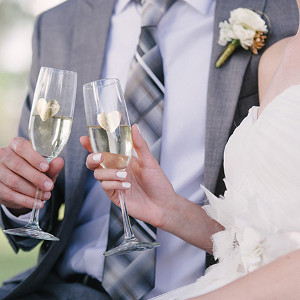
DIY Easy Etched Glasses

Make every toast one to remember with these DIY Easy Etched Glasses. This step-by-step tutorial will show you how to easily etch your wedding glasses to create a pretty design. You can easily customize champagne glasses to use as wedding favors or to give as gifts to the bridal party, and the wedding-inspired stencils included in the glass etching kit take the guesswork out of creating the perfect image. You could also use the techniques used in this tutorial to personalize vases or other glass containers to use as centerpieces - the sky's the limit!
Estimated Cost$31+
Time to CompleteIn an evening

Project TypeFood and Drink
Materials List
- Martha Stewart Crafts Glass Etch Kit - Wedding
- Martha Stewart Crafts Glass Patterning Tape
- Glassware
- Brush basin or container for water
- Paper towels
- Rubbing alcohol
Instructions
-
Martha Stewart Crafts Etching Cream can also be used with stencil tape or glass patterning tape to create borders or backgrounds.
-
Etching cream can also be used with Martha Stewart Crafts Adhesive Silkscreens.
-
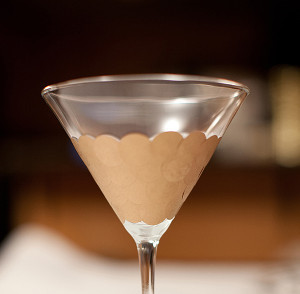
The color of etching cream may change; it may deepen in value from a warm caramel color to a milk chocolate color as it is open to the air.
-
Wash glass in warm soapy water to thoroughly clean; rinse well and allow to dry.
-
Moisten paper towel with rubbing alcohol and wipe over cleaned glass to remove any remaining dirt, grease or soap film. Allow to dry.
-
Remove adhesive stencil from backing sheet and position on glassware where desired. Press stencil firmly in place.
-
Using stencil tape, create a protective area around the stencil edges to mask the glass surface NOT to be etched.
-
Apply a thick layer of etching cream over the open stencil design areas using the natural bristle brush included in the kit. NOTE: You may also use a palette knife or a handled squeegee to apply a liberal amount of etching cream. Set project aside for 15 minutes.
-
After 15 minute wait, rinse glassware under running water to remove all etching cream. While under running water, remove stencil and stencil tape. NOTE: It is best to wear protective gloves when working with etching cream. Make sure that etching cream does not run over the edge of the design or spill on any areas that are not to be etched.
-
Rinse stencils well, blot dry and return to backing sheet for storage. Dry etched glassware.
Read NextGold Honeycomb Martini Glasses