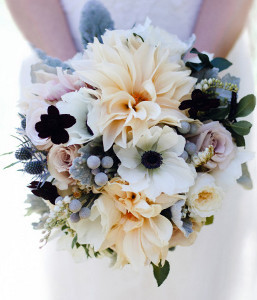
Enchanted Garden Wedding Earrings

If you're looking for some delicate earring ideas that are both classic for your wedding and interesting to look at, you should make yourself a pair of Enchanted Garden Wedding Earrings. The bell shape is traditional and stunning, and the opal bicones hanging from the end add just the right amount of bling. You'll find yourself wearing these earrings long after your wedding day is over, so be sure to make them with care. Nobody at your wedding is going to believe you made these earrings yourself.
Time to CompleteUnder an hour

Materials List
- Laliberi White Opal Bicones 4mm
- Laliberi Light Grey Opal Bicones - 6mm
- Laliberi Brass Findings Starter Kit
- Laliberi Black Fluted Flower Beads
- Laliberi Brass Fluted Bead Caps
- Needle Nose Pliers
- Head Pins
Instructions
-
String a 6mm Bicone onto an Eye pin, trim to 1/4" and make a loop with Needle Nose pliers. Attach one end to an ear wire. Repeat this whole step for other ear wire.
-
String a 4mm Bicone onto a Head pin and make a small loop on the very top. Repeat 3 more times.
-
Attach a long Eye pin to two 4mm dangles. Open the other end of the Eye pin and thread through the tulip flower and brass flute. Make a loop at the top and connect to the 6mm Bicone with Ear wire.
-
Tip:
-
When creating the 4mm dangles, cut the top of on one a small amount to vary the lengths.
Read NextRefined Rosebud Earrings
Your Recently Viewed Projects
Thanks for your comment. Don't forget to share!
mulberrygalprinces s
Dec 29, 2017
These are down right beautiful. They are sleek and would fit in at a modern or vintage style wedding. They are easy enough to do thanks to the well written instructions. I read thru them and they are very easy to follow. Thank you for sharing this easy, inexpensive, one of a kind project.
Report Inappropriate Comment
Are you sure you would like to report this comment? It will be flagged for our moderators to take action.
Thank you for taking the time to improve the content on our site.