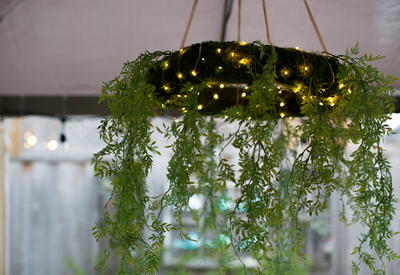
Enchanted Glitter Paper Lanterns

The beautiful thing about outdoor weddings is the freedom in decor. One of the most popular lighting choices for whimsical outdoor receptions are paper lanterns, but why just string up boring white ones? Try these Enchanted Glitter Paper Lanterns. These DIY paper lanterns are so easy, you can finish each coat in just minutes, set them aside to dry, and have your wedding lighting completely taken care of. Keep the glitter a classic gold for a ritzy, high-class feel, or choose the colors of your wedding.
Estimated Cost$21-$30
Time to CompleteUnder an hour

Materials List
- Tulip Fashion Glitter Bond
- Tulip Fashion Glitter in chosen colors
- Strand of ball lights
Instructions
-
Squirt a little fabric glue around the bottom portion of the ball.
-
Lightly brush the glue onto the ball. To make it look like it is dipped in glitter, stop in the middle.
-
You can sprinkle the glitter by lifting the lid, or take the whole cap off and pour over a sheet of paper.
-
Let them sit for an hour to dry.
-
Repeat steps 1-4 once more. When you are applying your second coat some of the glitter will fall off; that's normal.
-
Plug them in and string them in the reception as you see fit.
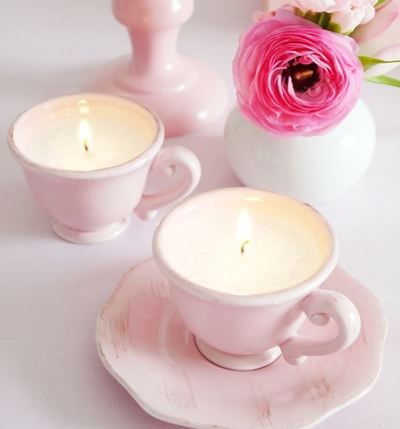
Read NextPastel Pink Tea Party Candles