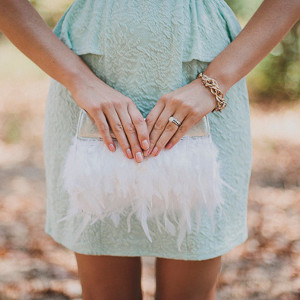
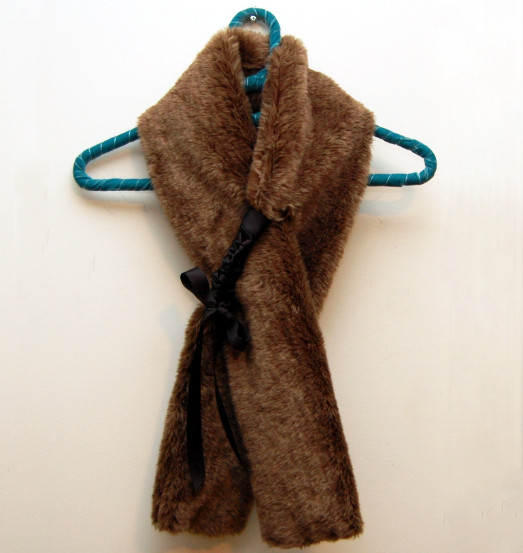
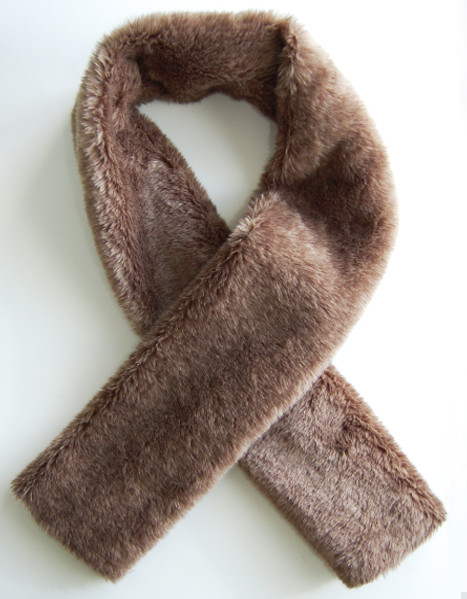
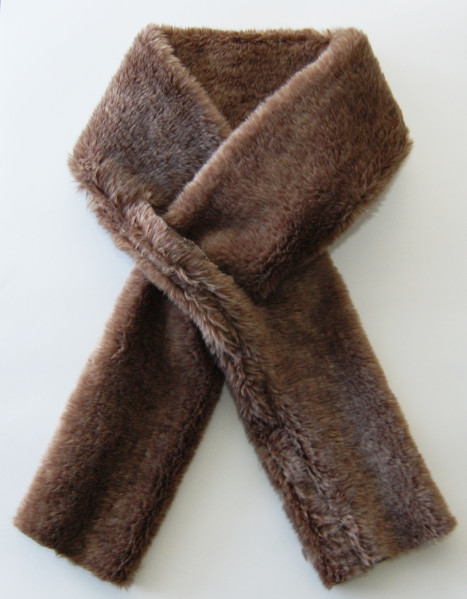
Fab Fur and Ribbon Scarf
Keep warm without interrupting your look with the Fab Fur and Ribbon Scarf. This perfect winter wedding accessory works for a bride or the entire bridal party. Learn how to make a scarf that is chic, comfy, inexpensive, and more than appropriate to wear to a formal event. Drape this gorgeous DIY scarf over your shoulders during photos and then set it aside when it's time to celebrate. It can be difficult to decide what to wear to a winter wedding, especially when you're the bride, but with this amazing scarf, you won't have to sacrifice your dream dress for something warmer. The best part is that you can wear this fabulous scarf after the big day too.
Materials:
- Faux fur (Mine was 50 inches long & 5.5 inches wide)
- Ribbon, about 100 inches. My ribbon was 7/8inch wide.
- Good pair of scissors
- Needle & thread
- Glue gun (optional)
- Pins
- Sewing machine, preferably
Instructions:
-
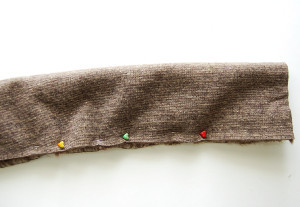
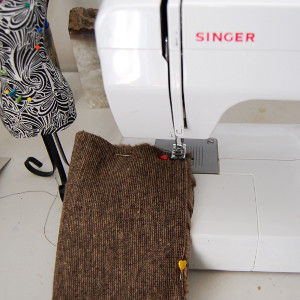
Fold your strip of fur lengthwise, so that the back side is facing out. Pin along the edges.

-
Sew along the edge - ONLY lengthwise. I recommend maybe giving some scrap fur a few test runs, if you can. The two layers are quite thick and can end up having a mind of their own as you sew them. I actually didn't even lower the foot of the sewing machine for the majority of the time (Foot = the metal piece that holds down the fabric, as you can see above) Keep sewing! If you decide to hand sew, a tight basic running stitch along the edges should work fine.
-
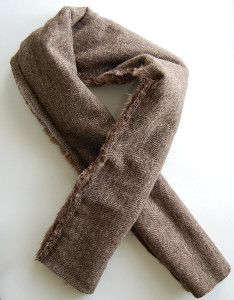
Turn it right side out. This may be a little tricky at first because the fabric is so thick, but it's definitely doable! Just be patient with it.
-
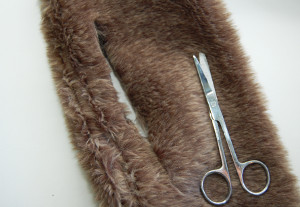
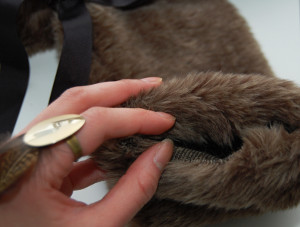
Wrap the scarf around your neck and figure out where you want to slip on end of the scarf into the other. Keep in mind the scarf won't be adjustable because of this. You can follow my measurements if you'd like: a 5.5 inch long slit, 10 inches away the bottom, 1.5 inches away the side. Make sure you cut through both layers.
-
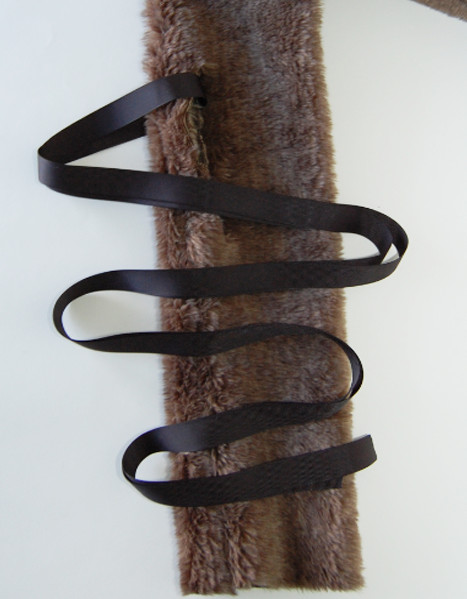
Slip the ribbon through the slit. Make sure it's at the very top of your cut, and that there is an equal amount of ribbon on each side.
-
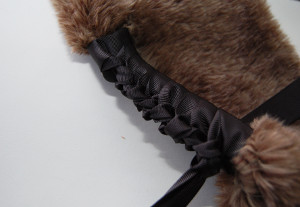
Position the ribbon like below; take the bottom strand and fold it over the top strand.
-
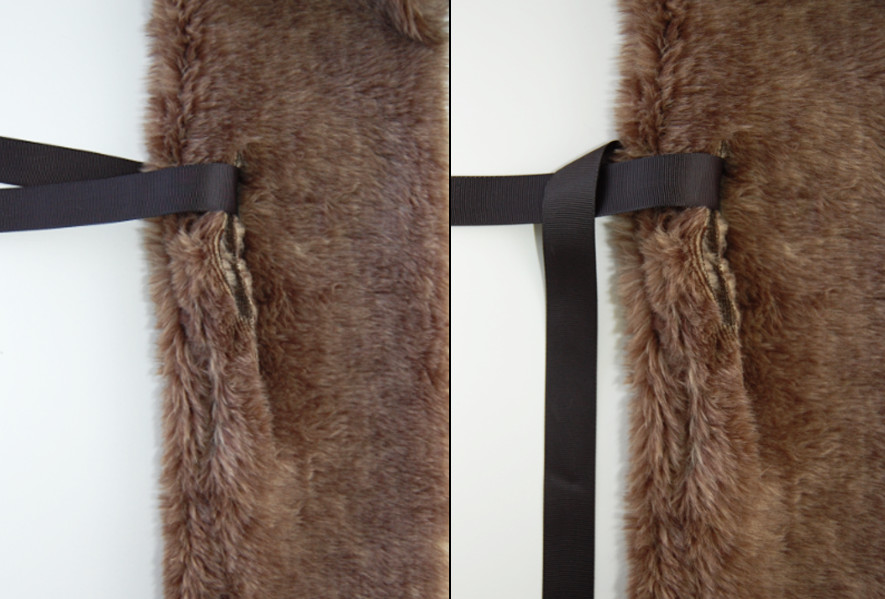
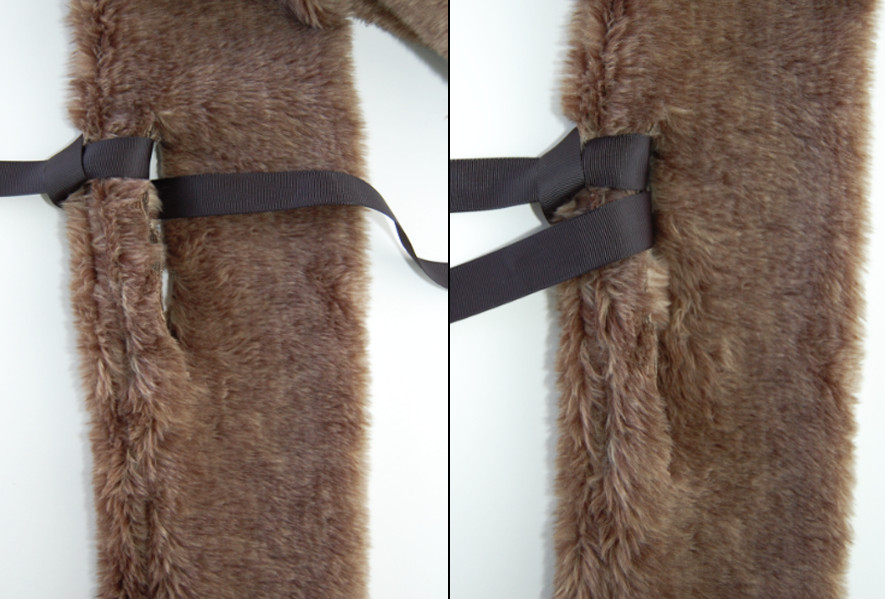
Take this strand and slip it under the fur and through the slit. (The side of the ribbon that was originally facing down should now be facing the fur.) After the ribbon goes through the slit, take it back over the fur - like in the second picture. Your ribbon will be placed similarly to the first picture in step 6. So with that said - keep repeating steps 6 & 7! Every time you pull the ribbon through the slit in the fur, make sure you pull it tightly. If it's too loose, the braid won't form properly.
-
After repeating Steps 6 & 7, this is what the finished braid should look like.
-
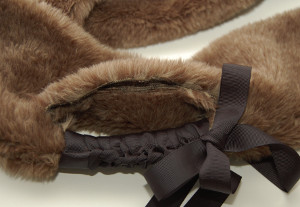
Tie it off with a bow, and trim as desired. If you'd like, add a little hot glue in the center of the bow to secure it.

-
As for the ends, I folded them in and the whip stitched across the edge.
-
I sewed up the other edge of the slit using a whip stitch and a running stitch.
Read NextSpring Blooms Crochet Shawl Pattern